In the previous lesson, you saw what IPsec protects and how IKE negotiates the tunnel in two phases.
In this lesson, you build that tunnel between two sites and verify each phase on the router.Before you can configure IPsec, the underlay must be working.
This lab uses the same topology and addressing as the GRE lesson.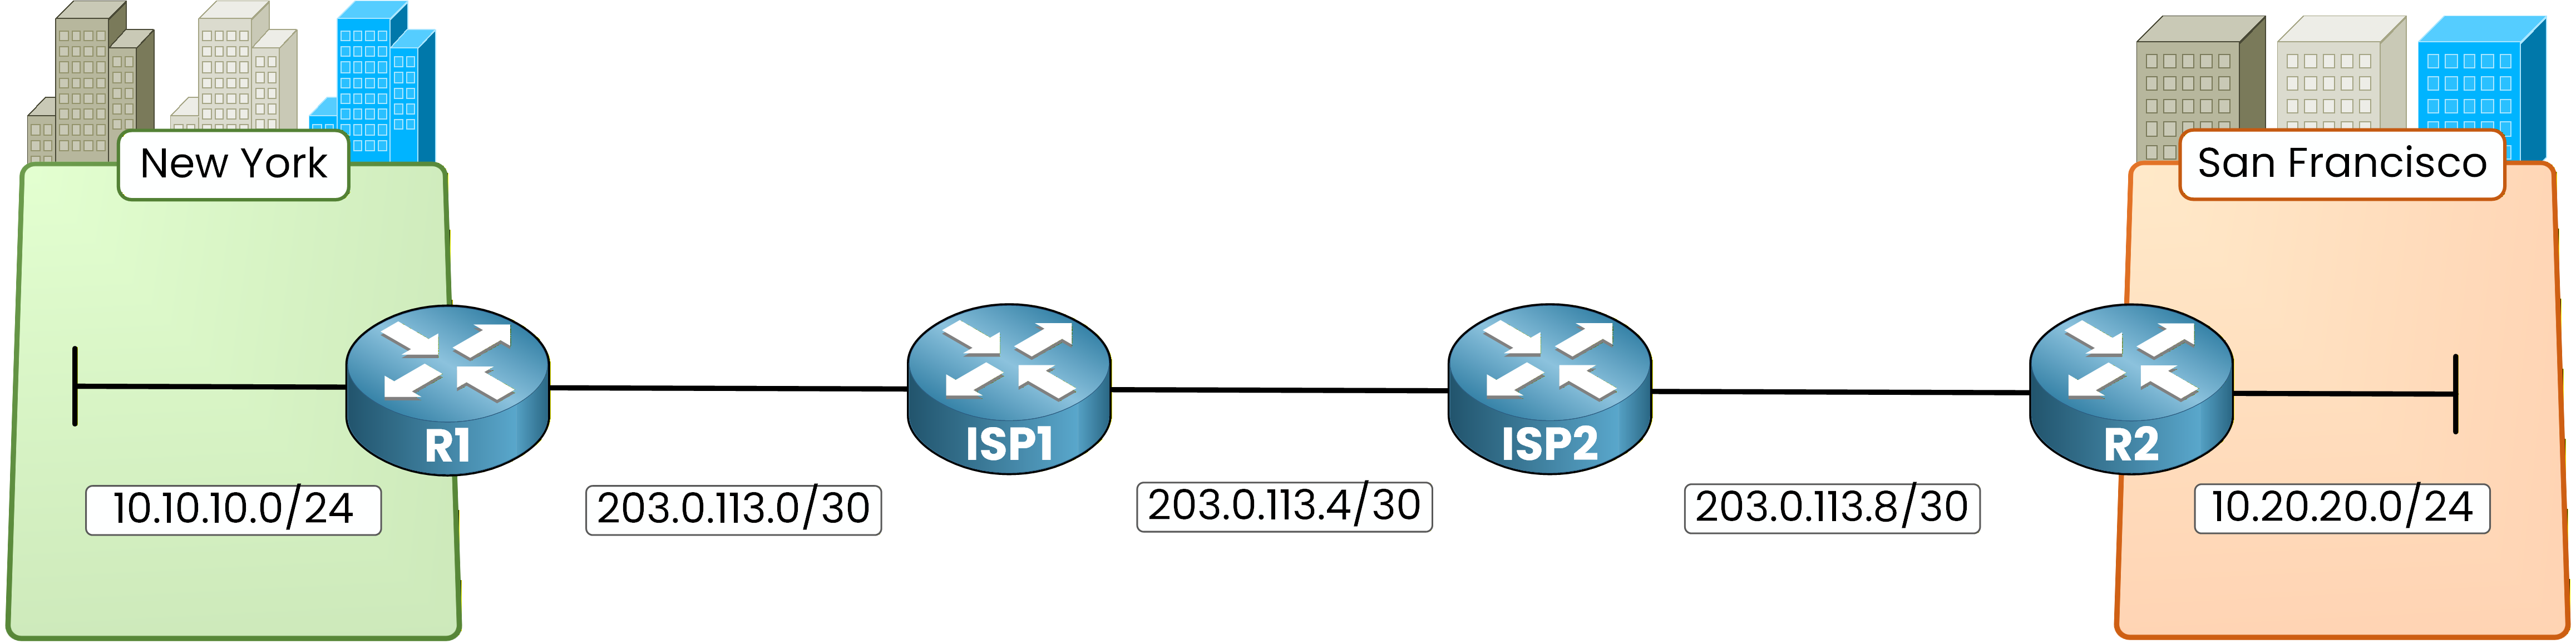
Figure 1 - IPsec lab topology
The routing is also identical: static routes on ISP1 and ISP2, and default routes on R1 and R2.

Figure 2 - Routing configuration on the IPsec topology
Here is a quick recap of the routing configuration:
ISP1# conf t
Enter configuration commands, one per line.  End with CNTL/Z.
ISP1(config)# ip route 203.0.113.8 255.255.255.252 203.0.113.6
Figure 3 - ISP2 static routing
ISP2# conf t
Enter configuration commands, one per line.  End with CNTL/Z.
ISP2(config)# ip route 203.0.113.0 255.255.255.252 203.0.113.5
Figure 4 - Default route configuration
R1(config)# ip route 0.0.0.0 0.0.0.0 203.0.113.2R2(config)# ip route 0.0.0.0 0.0.0.0 203.0.113.9At this point, R1 and R2 can reach each other's WAN interfaces through the ISP network.
Your underlay is ready. Now you can build the IPsec tunnel on top of it.Answer the question below
Why must R1 and R2 have WAN reachability before configuring IPsec?
Now that your routing is in place, you can configure the IPsec site-to-site VPN.
Figure 5 - IPsec site-to-site lab topology
The configuration follows a strict workflow with five steps.
Follow them in order.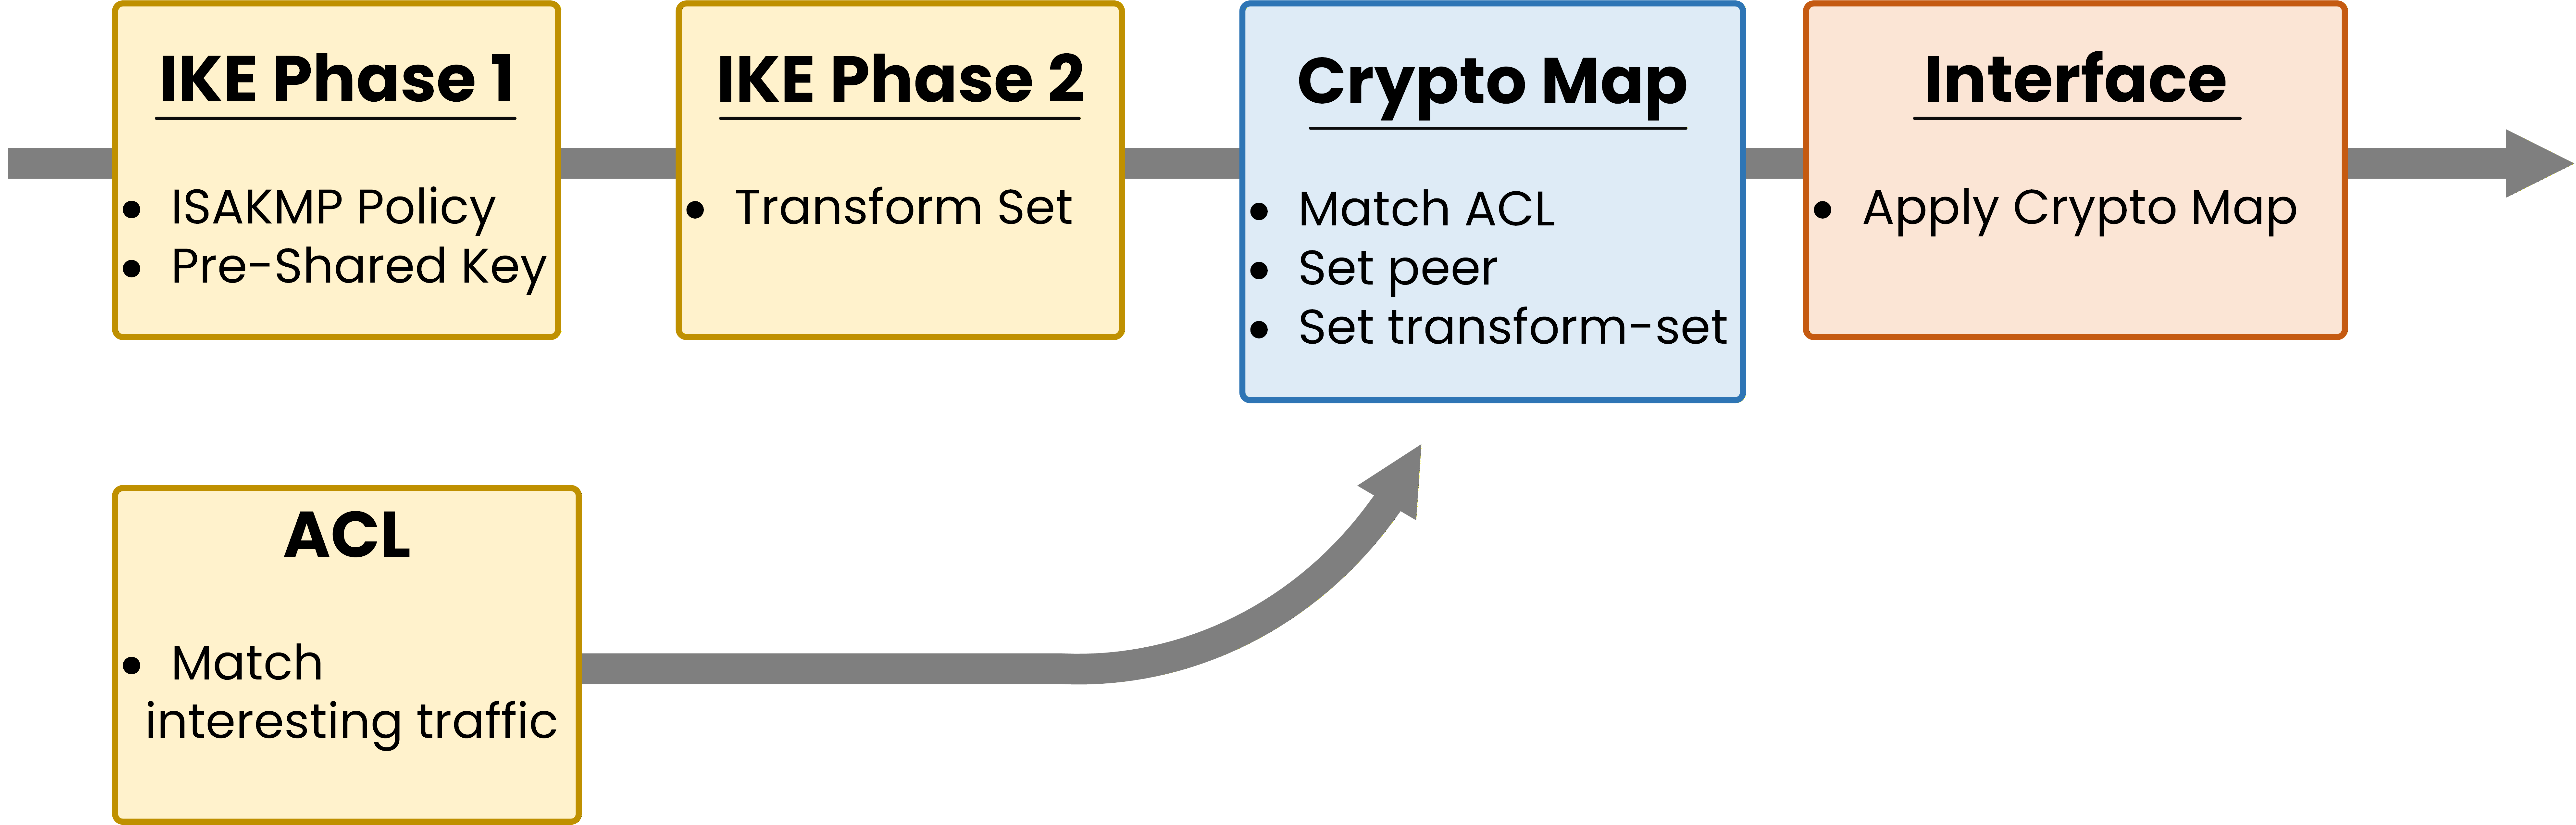
Figure 6 – IPsec configuration workflow
The five steps are:
Define interesting traffic (ACL)
Configure IKE Phase 1 (ISAKMP policy + pre-shared key)
Configure IKE Phase 2 (transform set)
Create the crypto map (ties everything together)
Apply the crypto map to the WAN interface
Step 1 — Define Interesting Traffic
First, you need to tell your router which traffic should be encrypted. This is called interesting traffic.
You define it with an extended ACL that matches the source and destination subnets.Any traffic matching this ACL triggers IPsec encryption.
Traffic that does not match travels in cleartext.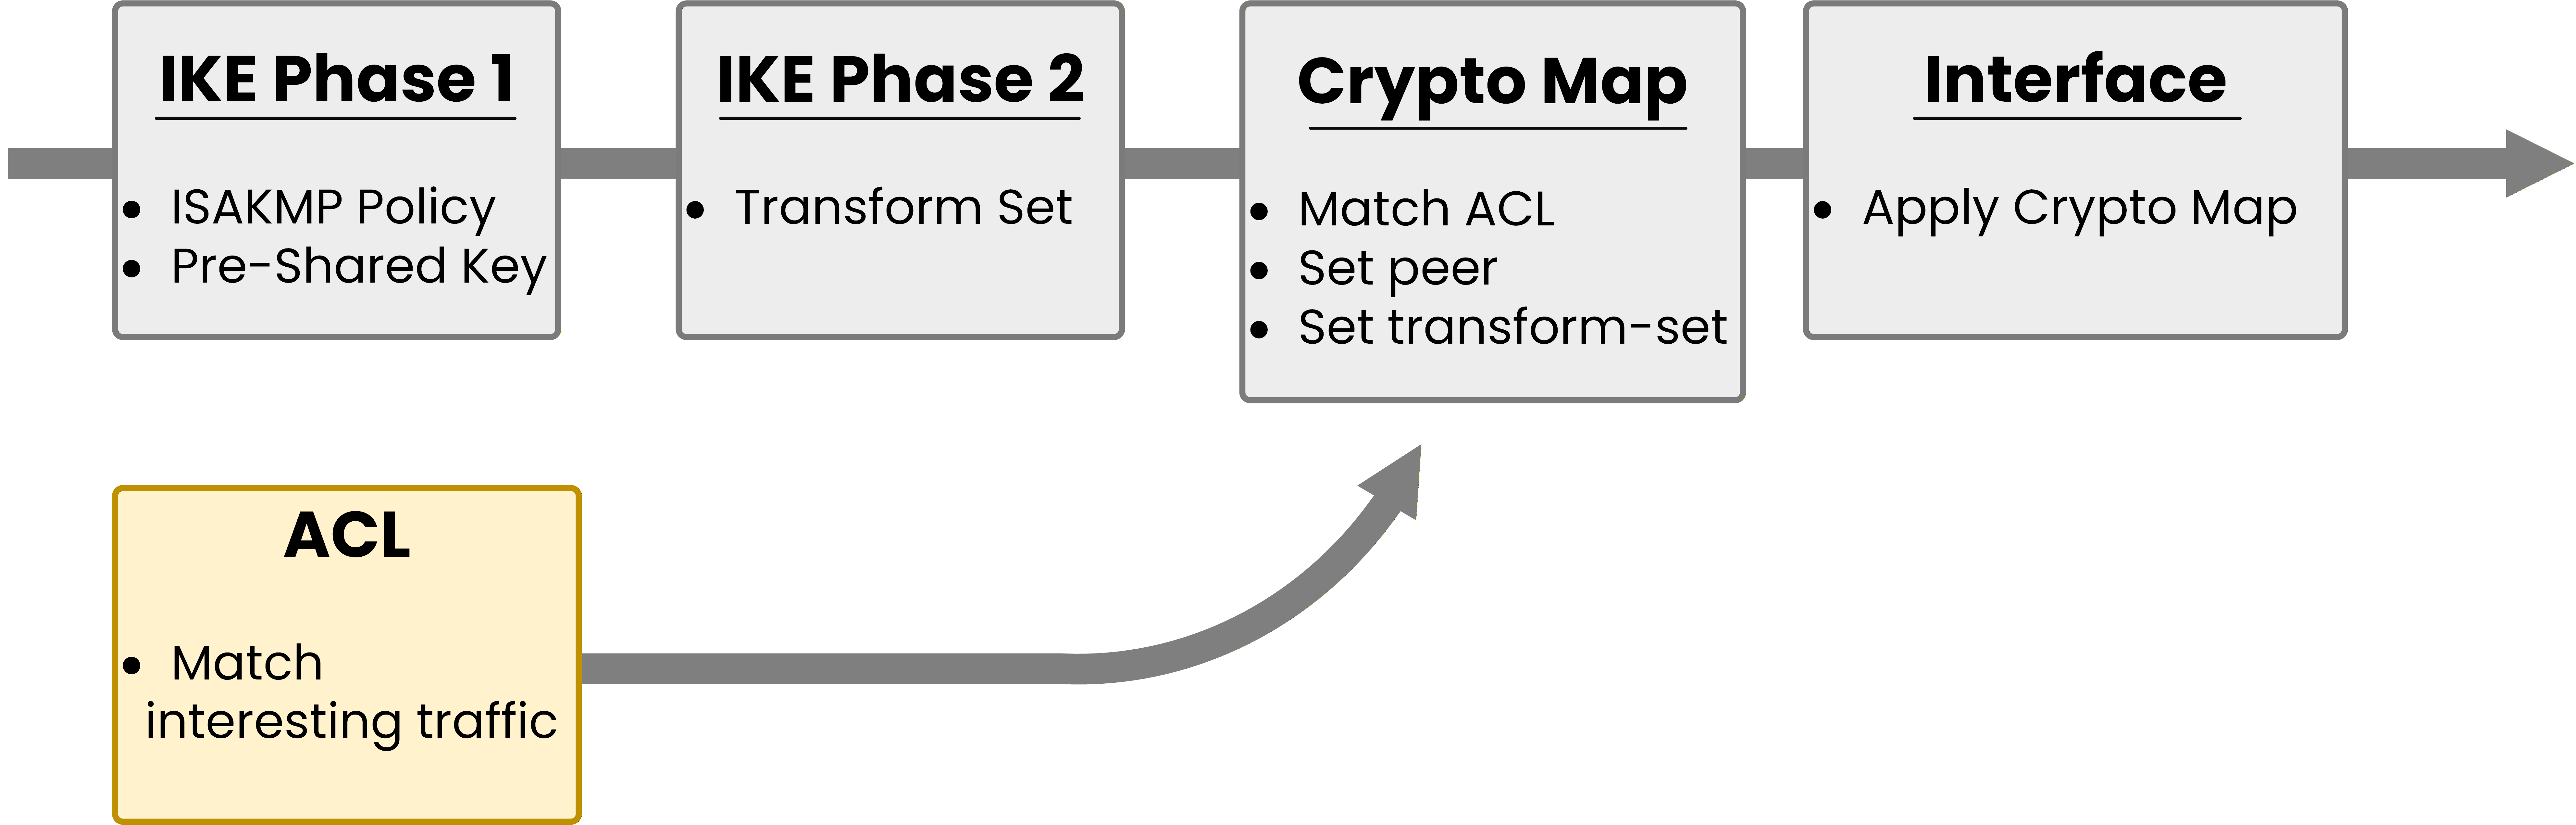
Figure 7 – ACL Configuration Step
R1:
R1(config)# access-list 100 permit 10.10.10.0 0.0.0.255 10.20.20.0 0.0.0.255R2:
R2(config)# access-list 100 permit 10.20.20.0 0.0.0.255 10.10.10.0 0.0.0.255Notice that the ACLs are mirrored. On R1, the source is 10.10.10.0/24 and the destination is 10.20.20.0/24. On R2, it is the opposite.
This is critical. If the ACLs do not mirror each other, the IPsec tunnel will not form for that traffic.
Step 2 — Configure IKE Phase 1
Next, you configure the secure management channel between R1 and R2.
You need two things: the ISAKMP policy (encryption, hash, authentication, DH group, lifetime) and the pre-shared key.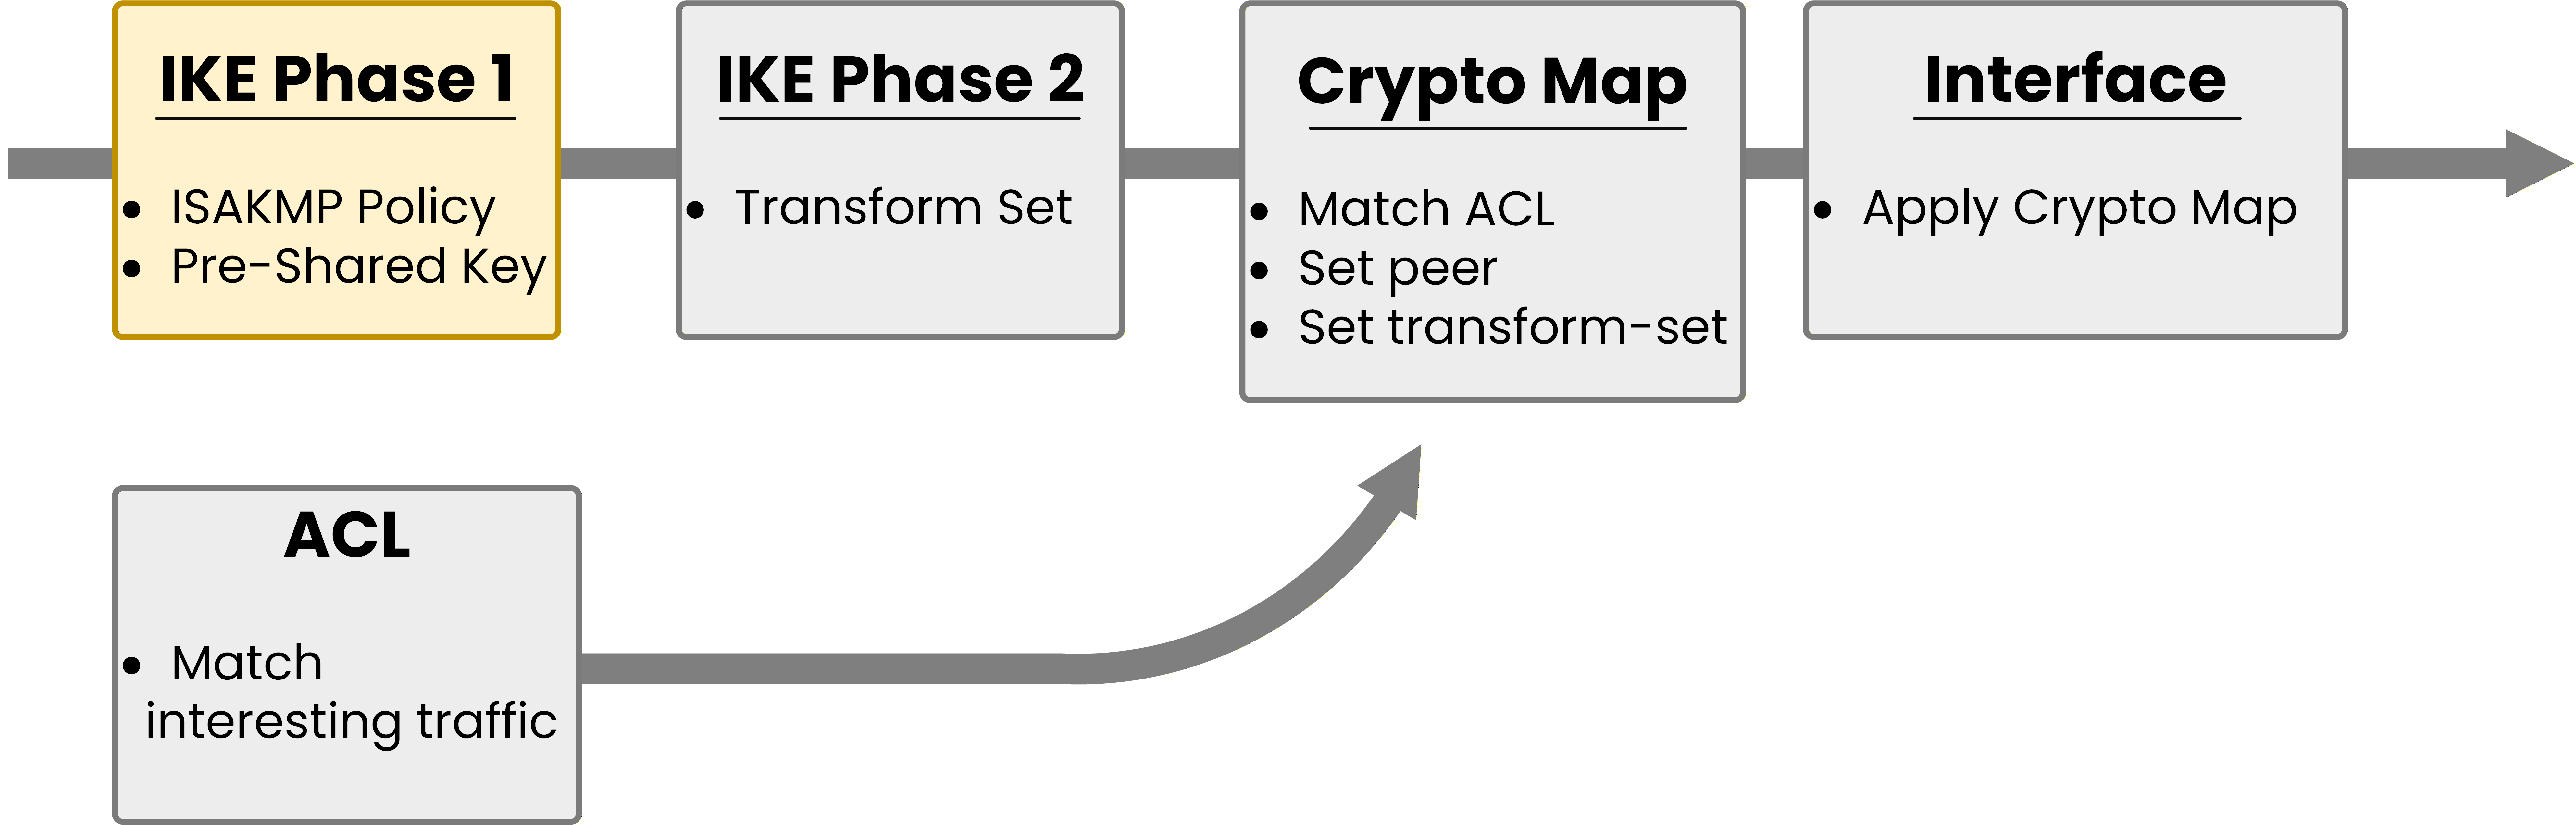
Figure 8 – IKE Phase 1 configuration step
R1:
R1(config)# crypto isakmp policy 1
R1(config-isakmp)# encryption aes
R1(config-isakmp)# hash sha
R1(config-isakmp)# authentication pre-share
R1(config-isakmp)# group 14
R1(config-isakmp)# lifetime 86400
R1(config-isakmp)# exit

R1(config)# crypto isakmp key cisco address 203.0.113.10
R2:
R2(config)# crypto isakmp policy 1
R2(config-isakmp)# encryption aes
R2(config-isakmp)# hash sha
R2(config-isakmp)# authentication pre-share
R2(config-isakmp)# group 14
R2(config-isakmp)# lifetime 86400
R2(config-isakmp)# exit

R2(config)# crypto isakmp key cisco address 203.0.113.1
Let's break down what you just configured:
crypto isakmp policy 1: Creates ISAKMP policy with priority 1 (lower number = higher priority).encryption aes: Uses AES for encrypting IKE messages.hash sha: Uses SHA for integrity checking.authentication pre-share: Authenticates the peer using a pre-shared key.group 14: Uses Diffie-Hellman group 14 (2048-bit) for key exchange.lifetime 86400: The ISAKMP SA expires after 86400 seconds (24 hours).crypto isakmp key cisco address 203.0.113.10: Sets the pre-shared key to "cisco" for the peer at 203.0.113.10.
Both sides must have matching ISAKMP policy parameters. The pre-shared key must also be identical on both peers.
Step 3 — Configure IKE Phase 2 (Transform Set)
Now you define how your actual user traffic will be encrypted.
This is done through a transform set.40 % Complete: you’re making great progress
Ready to pass your CCNP exam?