In this lesson, we'll look at Cisco SSH Configuration and why it matters for network administrators.
Secure Shell (SSH) is a protocol that enables secure remote communication with network devices.When you work with Cisco routers or switches, knowing how to configure SSH is essential to manage them safely.
Unlike older protocols such as Telnet, SSH encrypts all communication to ensure confidentiality and integrity.
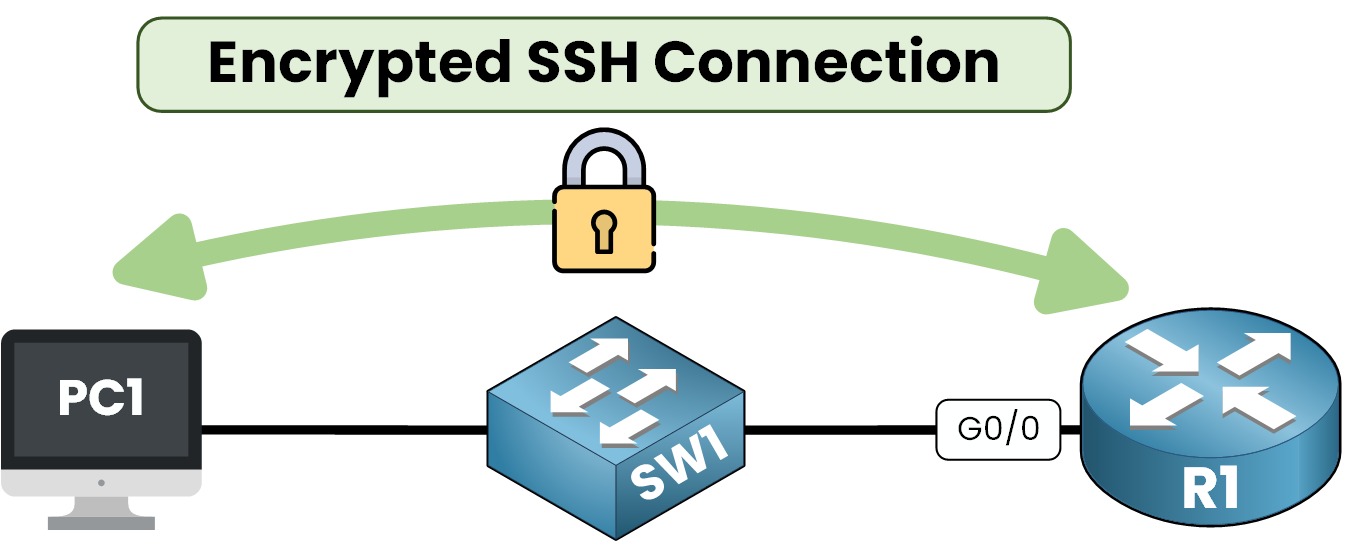
Figure 1 – SSH Access to Router
Imagine this: you are a network administrator and you need to configure an interface on your router. SSH ensures that the commands you send are encrypted and protected against unauthorized access.
Benefits of Using SSH
SSH offers several important advantages:
1. Enhanced Security: Encrypted data reduces the risk of traffic interception.
2. User Authentication: Only authorized users can access the device.
3. Remote Device Management: SSH allows secure remote access to Cisco routers and switches.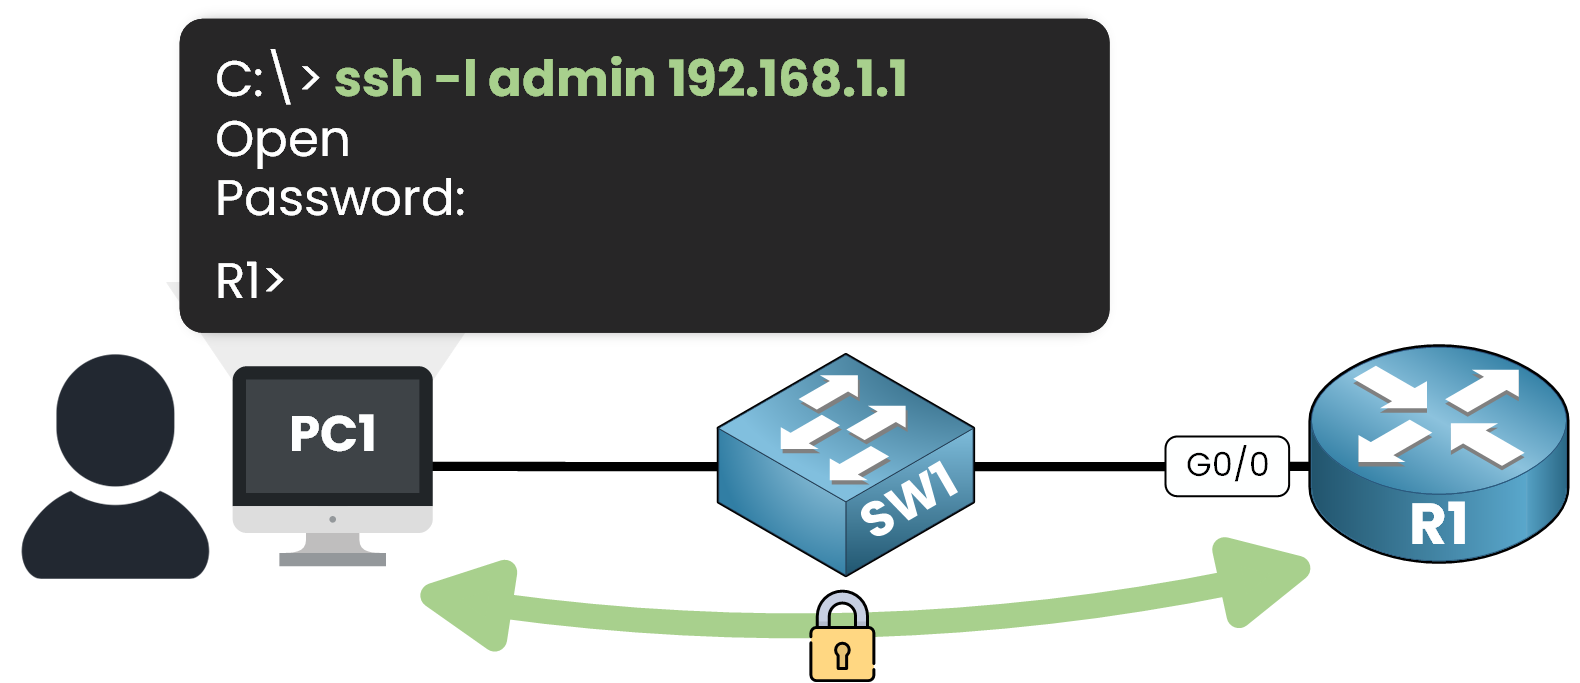
Figure 2 – Network Admin Login via SSH
SSH vs Telnet
SSH is often compared to Telnet, an older remote access protocol.
Here are the key differences:Encryption:
SSH: Encrypts all data to prevent eavesdropping
Telnet: Sends data in plain text, making it vulnerable
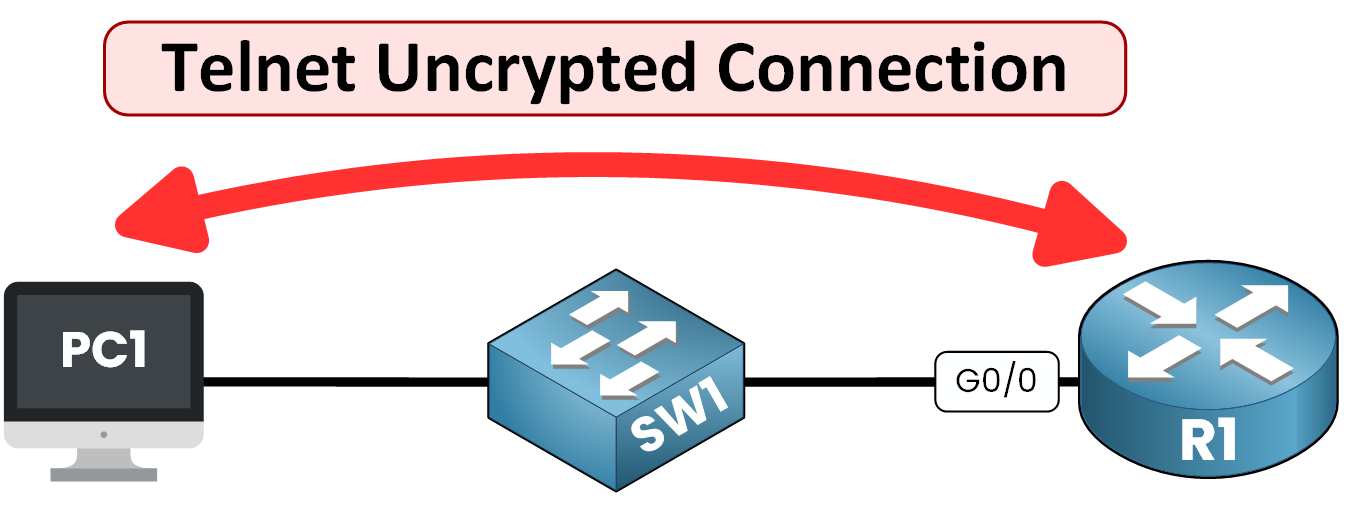
Figure 3 – Insecure Remote Access with Telnet
Default Ports:
SSH uses TCP port 22
Telnet uses TCP port 23
Comparison Table
Here's a comparison table you can refer to anytime to remember the key differences between SSH and Telnet:
Feature
SSH
Telnet
Encryption
✅ Yes (Encrypted)
❌ No (plain text)
Port
TCP 22
TCP 23
Use Case
Secure device management
Rarely used
Table 1 – SSH vs Telnet comparison summary
Now, let's walk through how to prepare and configure SSH on a Cisco device, step by step.
Answer the question below
Which protocol encrypts remote communication with Cisco devices?
To enable SSH on a Cisco device, you need to meet specific requirements and follow a clear configuration process.
Everything is covered in this section.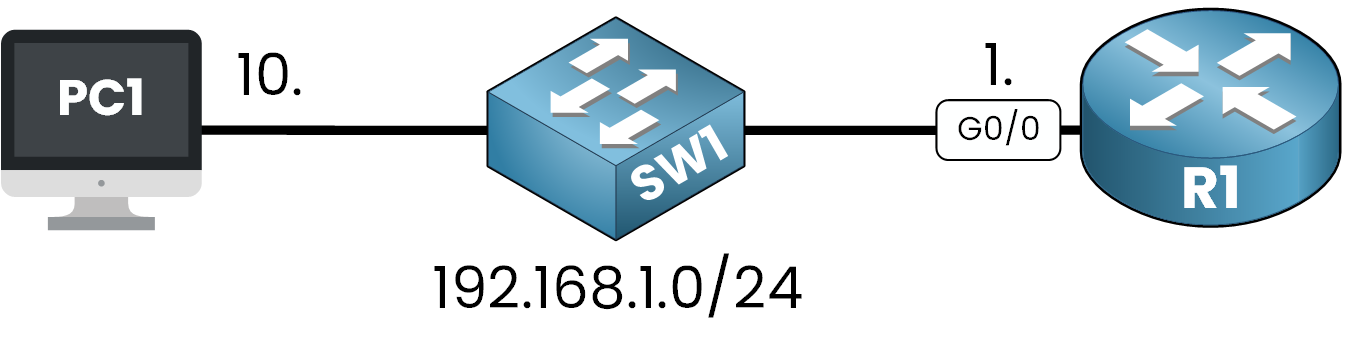
Figure 4 – SSH Lab Topology
IOS Requirement for SSH
Your Cisco device must run an IOS image that supports cryptographic functions.
Check the IOS version:
Router# show version

Cisco IOS Software, C2900 Software (C2900-UNIVERSALK9-M), Version 15.1(4)M4, RELEASE SOFTWARE (fc2)
Technical Support: http://www.cisco.com/techsupport
Copyright (c) 1986-2012 by Cisco Systems, Inc.
Compiled Thurs 5-Jan-12 15:41 by pt_team

// OUTPUT OMITTED
Look for a
kin the image name (universalk9).
If it's not present, SSH cannot be enabled on the device.Step 1 – Set the Hostname and Domain Name
Both the hostname and domain name are required to generate RSA keys.
Router# conf t
Enter configuration commands, one per line.  End with CNTL/Z.
Router(config)# hostname R1
R1(config)# ip domain-name pingmynetwork.com
Step 2 – Generate RSA Key Pair
Generate the cryptographic keys used by SSH.
RSA stands for Rivest, Shamir and Adleman, the three researchers who created it in 1977.
It's the algorithm that generates the key pair SSH uses to encrypt your session.R1(config)# crypto key generate rsa The name for the keys will be: R1.pingmynetwork.com Choose the size of the key modulus in the range of 360 to 4096 for your General Purpose Keys. Choosing a key modulus greater than 512 may take a few minutes. How many bits in the modulus [512]: 2048 % Generating 2048 bit RSA keys, keys will be non-exportable...[OK]Recommended modulus size: 2048 bits.
SSH version 2 requires at least 768 bits, and older documentation often mentions 1024, but neither is secure enough today.Step 3 – Create a Local User for SSH Login
SSH requires a local user account to authenticate the connection.
This account will be used as the username and password when connecting via SSH.R1(config)# username admin secret pingmynetwork1This command creates a user named
adminwith the secret passwordpingmynetwork1.
When the client connects using SSH, this is the account that will be used for login.Step 4 – Set the Enable Secret for Privileged Mode
After logging in via SSH, the user will be placed in user EXEC mode (
R1>).
To access privileged EXEC mode (R1#), the user must typeenable, and the router will prompt for the enable password.R1(config)# enable secret ciscoThis command sets the password required to enter privileged EXEC mode.
Step 5 – Configure VTY Lines for SSH Only
Configure the virtual terminal (VTY) lines to accept SSH connections and require local user authentication.
R1(config)# line vty 0 15
R1(config-line)# transport input ssh
R1(config-line)# login local
R1(config-line)# exit
This disables Telnet and ensures that only SSH connections are accepted using the local user database.
What Does 0 15 Mean?
Most Cisco routers and switches have 16 VTY lines, numbered from 0 to 15.
Each remote session uses one line: the first one takes line 0, the second takes line 1, and so on.The range
0 15selects all 16 lines at once. Your rules then apply to every session, up to 16 at the same time.Step 6 – Enable SSH Version 2 (Recommended)
Enable SSH version 2, which provides better security than version 1.
R1(config)# ip ssh version 2You can check that SSH is running with the following command:
R1(config)# do show ip ssh
SSH Enabled - version 2.0
Authentication timeout: 120 secs; Authentication retries: 3
Step 7 – Assign an IP Address to Access the Device
SSH requires the router to have an active IP address on an interface.
R1(config)# int g0/0
R1(config-if)# ip address 192.168.1.1 255.255.255.0
R1(config-if)# no shutdown
%LINK-5-CHANGED: Interface GigabitEthernet0/0, changed state to up
%LINEPROTO-5-UPDOWN: Line protocol on Interface GigabitEthernet0/0, changed state to up
At this point, SSH is fully operational. You can now connect to the router from a client using the IP address
192.168.1.1and the user accountadmin.Answer the question below
What letter must appear in the IOS image name to support SSH?
Once SSH is configured on the router, the next step is to test the connection from a client machine to ensure that everything is working correctly.
Test SSH Access From the Client
From the PC, start by testing connectivity to the router's IP address using the
pingcommand:PC1> ping 192.168.1.1 Pinging 192.168.1.1 with 32 bytes of data: Reply from 192.168.1.1: bytes=32 time=5ms TTL=128 Reply from 192.168.1.1: bytes=32 time=6ms TTL=128 Ping statistics for 192.168.1.1: Packets: Sent = 2, Received = 2, Lost = 0 (0% loss) Approximate round trip times in milli-seconds: Minimum = 5ms, Maximum = 6ms, Average = 5msIf the router responds, the SSH connection can proceed.
SSH Login from PC1
Credentials to use when prompted: SSH password
pingmynetwork1.
Once authenticated, use the enable passwordcisco.Initiate an SSH session from the client:
PC1> ssh -l admin 192.168.1.1
Password:
R1> enable
Password:
R1#
You are now connected to the router securely via SSH and have full privileged access.
Restrict SSH Access With an ACL (Optional)
To improve security, you can restrict SSH access to specific IP addresses or subnets.
Create the ACL
To allow only one trusted host (PC1, 192.168.1.10):
R1# conf t
Enter configuration commands, one per line.  End with CNTL/Z.
R1(config)# access-list 1 permit host 192.168.1.10
Apply the ACL to the VTY lines
R1(config)# line vty 0 15
R1(config-line)# access-class 1 in
Answer the question below
What command should you use first to check connectivity before starting an SSH session?
SSH provides a secure and reliable way to manage Cisco devices remotely. Unlike Telnet, SSH encrypts all communication, protecting sensitive commands and credentials from being exposed.
In this lesson, you learned how to:
Verify IOS compatibility for SSH support
Prepare the device by setting a hostname and domain name
Generate RSA keys for encryption
Create a local user for authentication
Secure remote access by enforcing SSH-only connections and applying an access list
Protect privileged mode with an enable secret
Recommended Configuration
hostname R1
ip domain-name pingmynetwork.com
crypto key generate rsa
2048

enable secret cisco
username admin secret pingmynetwork1

access-list 1 permit host 192.168.1.10

line vty 0 15
 transport input ssh
 login local
 access-class 1 in
 exit

ip ssh version 2
Key Security Measures:
SSH only:
transport input sshdisables Telnet by allowing only SSH.Authentication: Access is restricted to the local user
admin.Authorization: Only the IP
192.168.1.10is allowed to connect via SSH.Encryption: Communication is secured with RSA key pairs and SSH version 2.
With this setup, your Cisco router is protected against unauthorized access while enabling secure remote management, exactly what you need as a network administrator.
Answer the question below
Click 'Complete' to continue